How to Prep Concrete Properly Before Installing Epoxy Flooring
Most people get excited about choosing epoxy colors and finishes, but the real success of an epoxy floor comes long before the first coat goes down. If the concrete isn't prepped correctly, the epoxy will bubble, peel, or fail way sooner than it should. That’s why even a Goodyear AZ concrete contractor residential specialist will tell you that surface prep matters more than the product you choose.
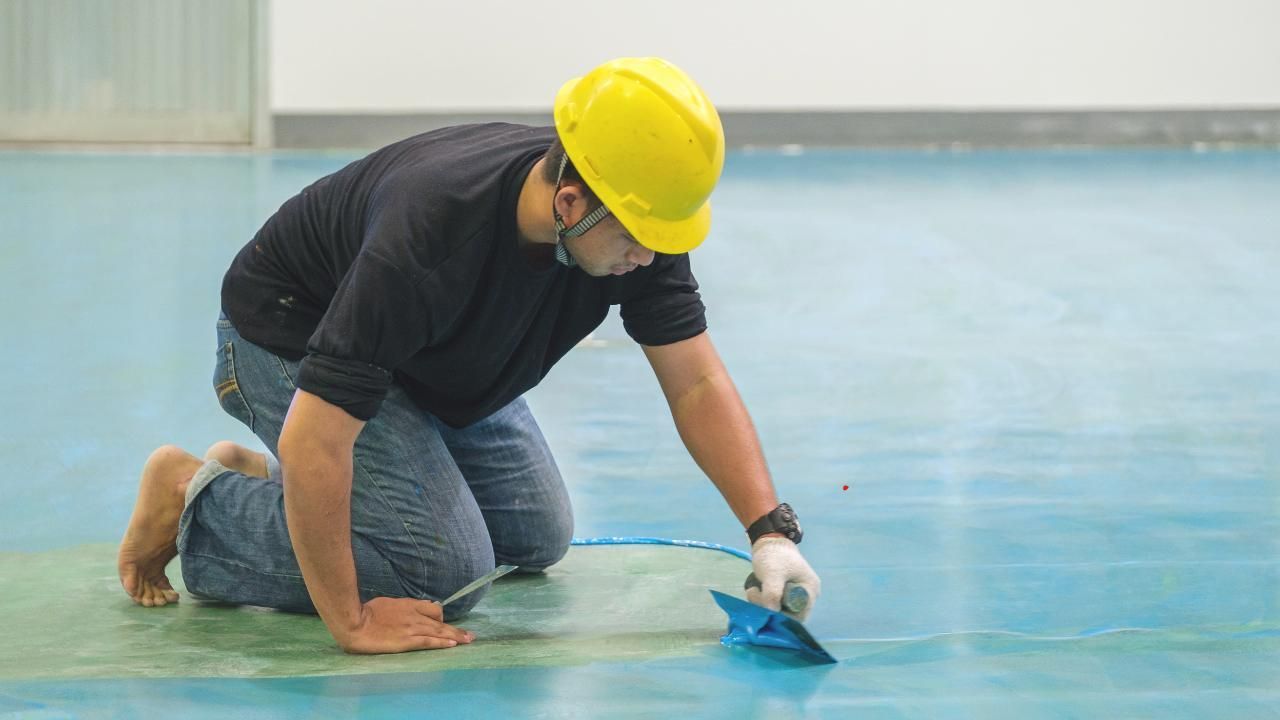
This guide walks you through the steps you absolutely cannot skip. You’ll learn how to evaluate the slab, clean and repair it, open the pores for bonding, and make sure the surface is ready for a flawless installation. If you’re planning DIY epoxy or hiring a concrete service provider, getting familiar with the process helps you avoid the most expensive mistakes.
1. Start With a Proper Inspection
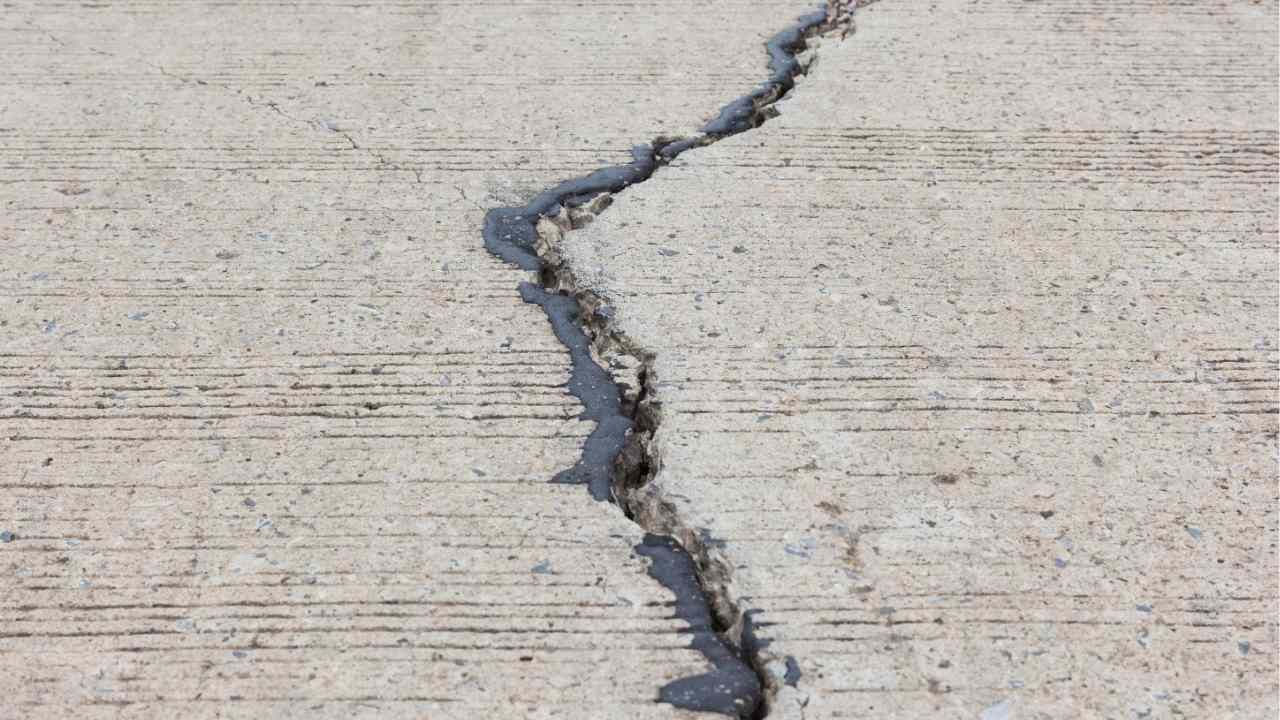
Before doing anything else, inspect the concrete. You’re looking for hairline cracks, oil stains, moisture issues, old coatings, and uneven spots. These problems won’t just show through the epoxy—they’ll cause it to lift.
Here’s what to check:
- Moisture: Tape down a piece of plastic overnight. Condensation means you need moisture mitigation.
- Surface hardness: Soft or chalky concrete must be hardened before coating.
- Old sealers or paints: These must be removed completely.
- Cracks or spalling: These need repair before any sanding or grinding.
If the floor looks “mostly fine,” don’t trust it. Epoxy is unforgiving, and skipping the inspection stage leads to trouble every time.
2. Remove Contaminants Thoroughly
Anything sitting on top of the concrete—even invisible oil residue—is a barrier between the slab and the epoxy. Proper cleaning means more than mopping.
Use a degreaser, scrub aggressively, and rinse well. For paint, adhesives, or sealers, you’ll need mechanical removal such as diamond grinding. Chemical paint strippers can leave residues, so grinding is the cleaner, safer choice.
Avoid acid etching if you want a professional-level outcome. It doesn't remove coatings well, and the results are often inconsistent. Professionals like Intricate Concrete stick with mechanical prep because it provides predictable, long-lasting bonding.
3. Repair Every Crack and Imperfection
Don’t ignore cracks just because epoxy “might fill them.” It won’t. Instead, epoxy will highlight them like a spotlight.
To prep properly:
- Open cracks with a grinder or crack chaser.
- Vacuum the dust thoroughly.
- Fill with a high-quality, fast-curing repair compound.
- Feather the edges so the repair blends into the slab.
This is also where you fix spalling, pits, and low spots. The smoother and flatter the slab, the better the final finish—not just visually but structurally.
4. Grind or Shot Blast the Surface
For epoxy to fuse with concrete, the pores must be open. The industry standard is a diamond grind to achieve a CSP (Concrete Surface Profile) of 2–3. This creates a textured surface the epoxy can grip.
Grinding also removes weak concrete and exposes a fresh surface. Shot blasting is another excellent method, but it requires more skill to avoid visible striping.
Avoid sanding. It doesn’t open the pores enough and can leave the slab too smooth for epoxy to bond properly.
5. Vacuum and Test Before Coating
This last step is where most DIY jobs fail. After grinding, dust settles into every crack and corner. A quick vacuum pass won’t cut it.
Use a powerful shop vac with a HEPA filter and take your time. Any dust you leave behind becomes a bond breaker.
Finally, run a quick surface test: press a piece of tape onto the floor and pull it up. If dust transfers to the tape, you’re not ready yet.
Clean it again.
When the tape test passes, the concrete is prepped and ready for epoxy.
A Short Case Study
A homeowner in Arizona wanted a metallic epoxy floor in their garage. They cleaned the slab themselves but skipped grinding because “it looked clean enough.” Within four months, the epoxy peeled in large sheets. A professional inspection showed oil contaminants, smooth concrete with no surface profile, and several unfilled cracks. After removing the failed coating, the crew performed full mechanical grinding, repaired cracks properly, and installed a moisture-tolerant primer. The new epoxy bonded perfectly and has held up for years without issues. The owner later admitted that proper prep was the missing piece all along.
Before doing epoxy floor installation, make sure your concrete is truly ready. If you want a floor that lasts, start with the right prep—or get in touch with a professional to do it right the first time.