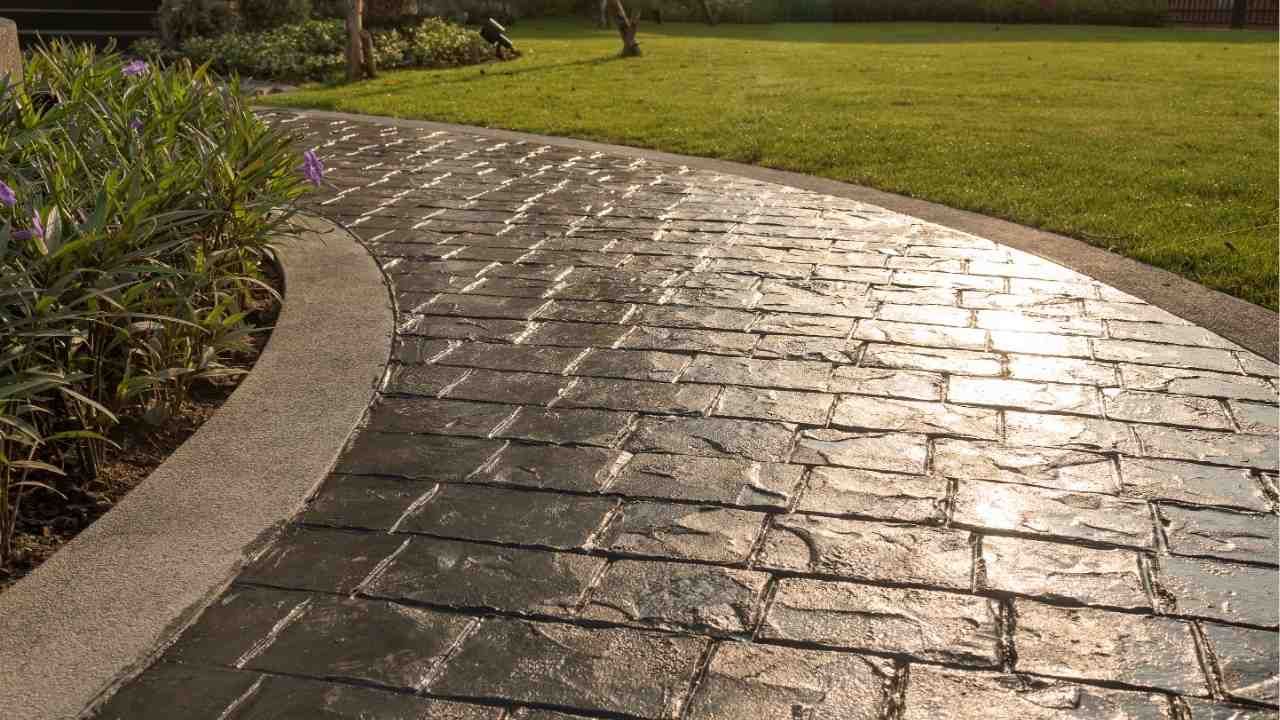
How to Prevent and Repair Cracks in Residential Concrete
Cracks in residential concrete are more than just an eyesore—they can lead to costly repairs if left unaddressed. Whether it's your driveway, patio, or foundation, understanding how to prevent and repair cracks will help maintain your home's structural integrity and curb appeal. From proper installation techniques to effective repair solutions, here’s everything you need to know to keep your concrete surfaces in top shape.
Understanding Why Concrete Cracks
Before diving into prevention and repair methods, it’s essential to understand why cracks form in the first place. Some of the most common causes include:
- Shrinkage – As concrete dries, it loses moisture and shrinks, leading to hairline cracks.
- Temperature Fluctuations – Expanding and contracting due to weather changes can weaken the surface over time.
- Poor Installation – Improper mixing, inadequate reinforcement, or lack of control joints can contribute to cracking.
- Heavy Loads – Driveways and garage floors may crack under excessive weight if not designed to handle it.
- Soil Movement – Shifting soil underneath the concrete can create structural issues, leading to cracks.
Now that we know what causes cracks, let’s explore how to prevent them and what to do if they appear.
Preventing Cracks in Residential Concrete
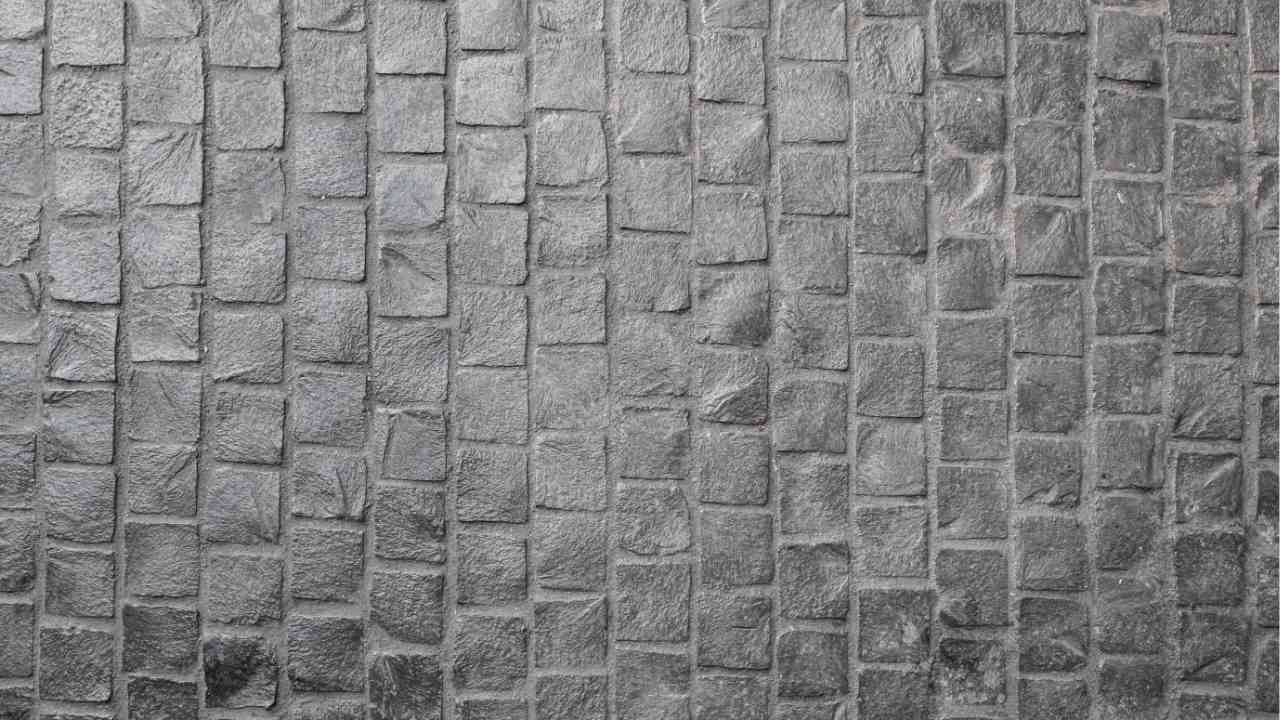
1. Use High-Quality Materials and Proper Installation Techniques
The best way to avoid cracks is to start with a strong foundation. Choose high-quality concrete mixes and ensure the proper water-to-cement ratio. Overwatering weakens concrete and increases shrinkage, making it more prone to cracking.
2. Install Expansion and Control Joints
Control joints help guide where cracks occur, preventing random splitting across the surface. For larger slabs, expansion joints allow movement due to temperature changes, reducing stress and minimizing damage.
3. Reinforce with Steel or Fiberglass
Adding rebar, wire mesh, or fiberglass reinforcement strengthens concrete and distributes weight more evenly. This reinforcement helps prevent cracks caused by heavy loads or shifting ground.
4. Properly Cure the Concrete
Curing is a crucial step that many overlook. Keeping newly poured concrete moist for at least seven days prevents rapid drying, reducing the risk of shrinkage cracks. Covering the surface with plastic sheeting or regularly misting it with water can help maintain moisture levels.
5. Ensure a Stable Base
A well-compacted subgrade prevents uneven settling and structural issues. If the soil beneath the concrete isn’t properly prepared, it can shift over time, leading to cracks.
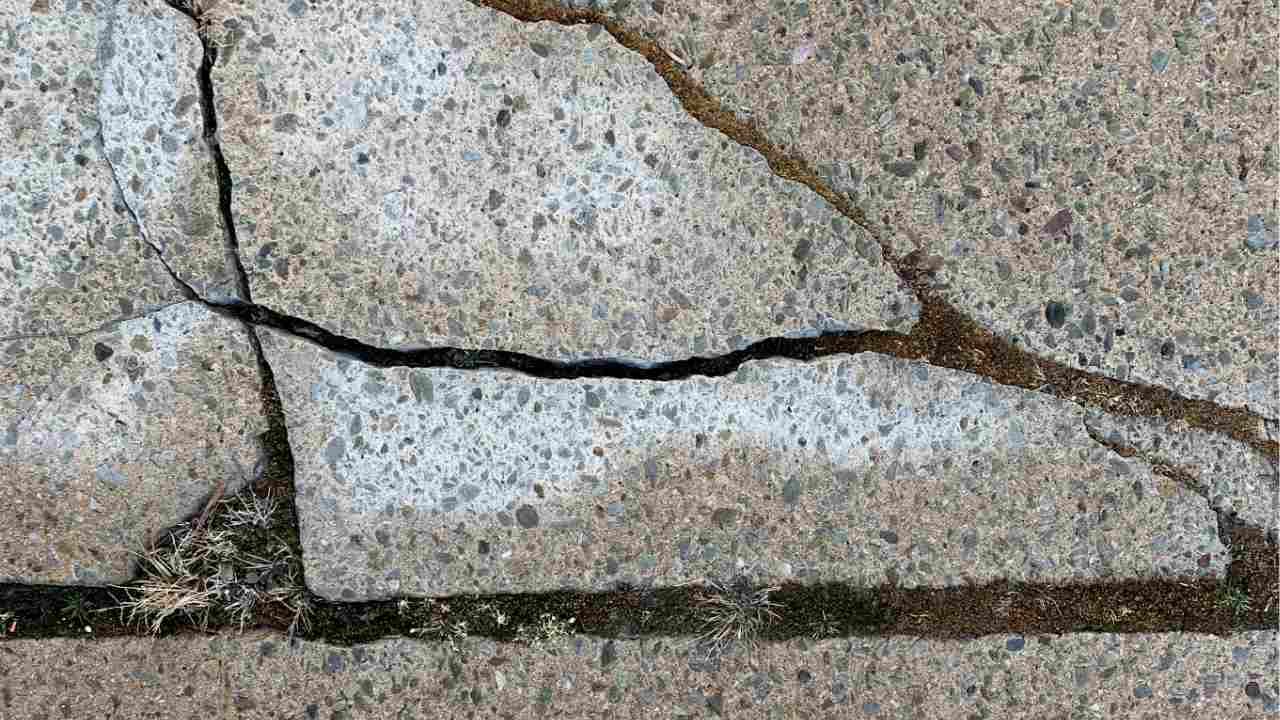
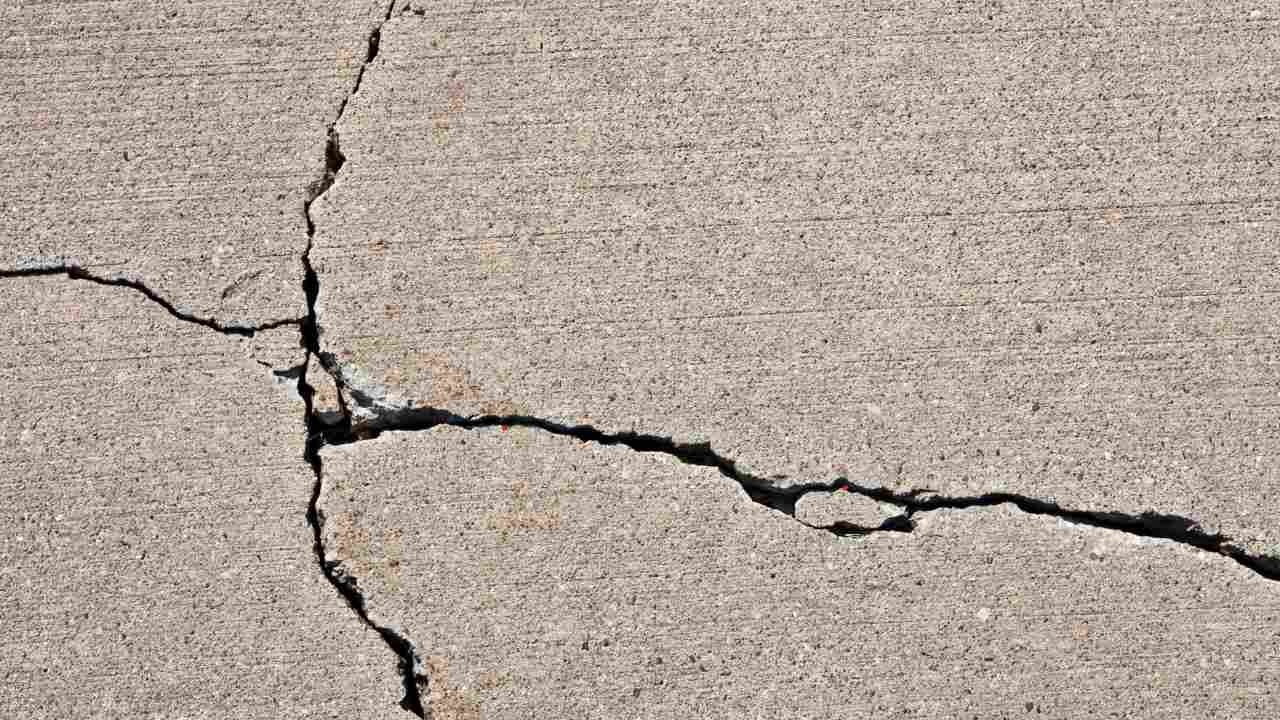
Repairing Cracks in Residential Concrete
Despite your best efforts, cracks may still appear due to natural wear and tear. Here’s how to repair them based on the severity of the damage.
1. Filling Hairline Cracks
For small, superficial cracks, a concrete sealant or liquid filler can help prevent further damage. Simply clean the crack, apply the sealant, and smooth it out with a putty knife.
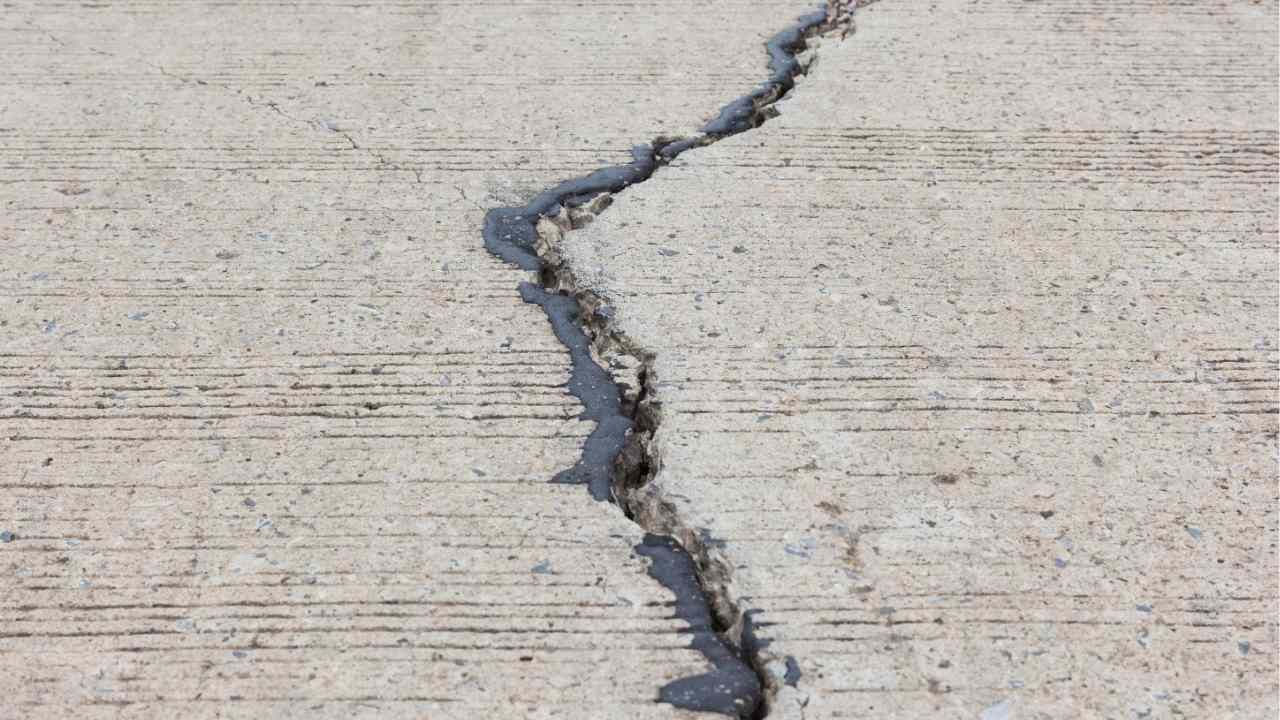
2. Repairing Larger Cracks with Patching Compound
If the crack is more than 1/4 inch wide, use a concrete patching compound. Follow these steps:
- Clean the crack thoroughly, removing any debris or loose material.
- Apply the patching compound with a trowel, pressing it firmly into the crack.
- Smooth the surface and allow it to cure according to the manufacturer’s instructions.
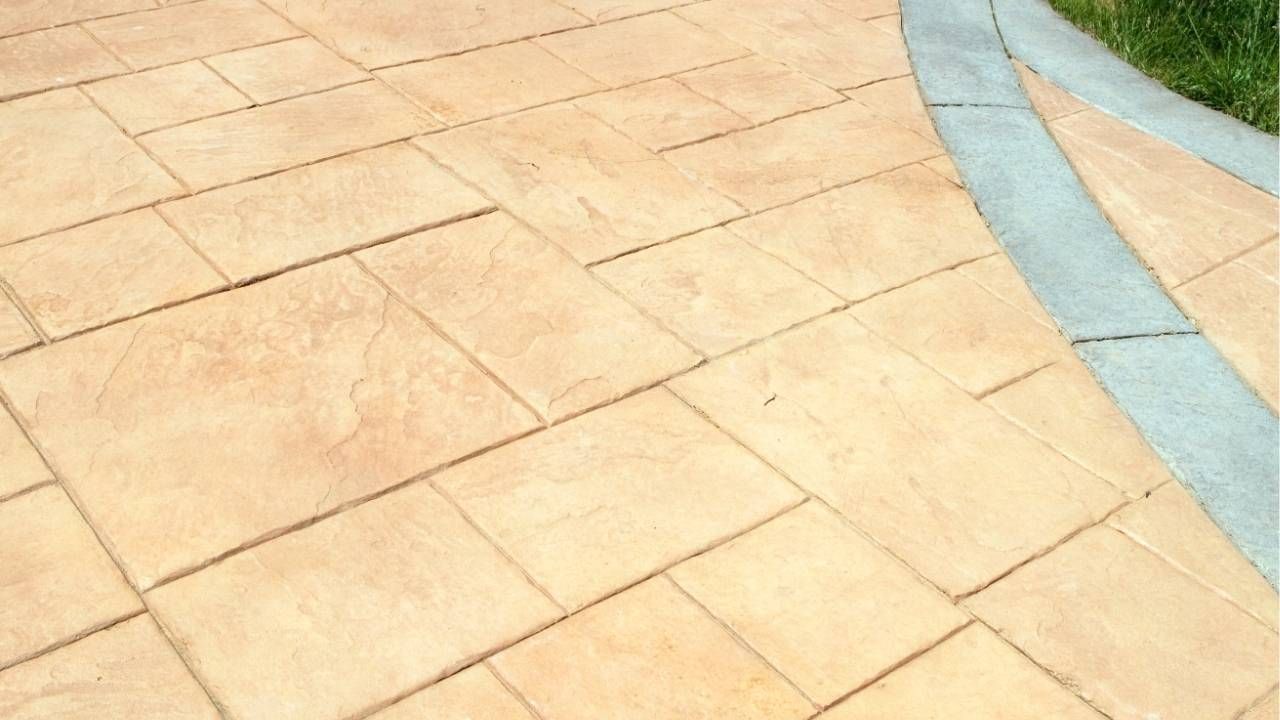
3. Resurfacing Severely Damaged Areas
For areas with multiple cracks or widespread deterioration, resurfacing may be the best solution. A new concrete overlay can restore the appearance and strength of your driveway, patio, or walkway.
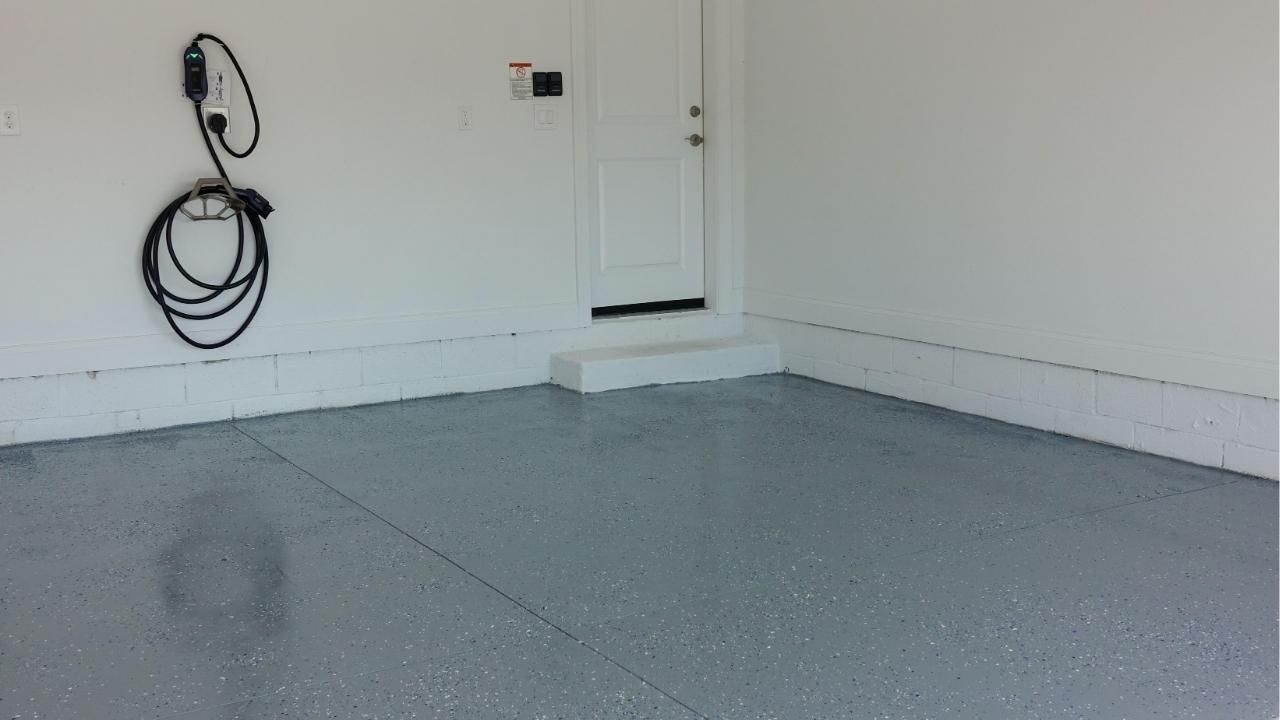
4. Epoxy Injections for Structural Cracks
For deeper cracks that compromise structural integrity, epoxy injections provide a durable solution. This method is often used for foundations or garage floors. If you’re considering epoxy floor installation, professional assistance can ensure a long-lasting, seamless finish.
Case Study: From Cracked Nightmare to Flawless Driveway
The Problem:
A homeowner in Denver noticed widening cracks in their 10-year-old driveway after a harsh winter. What began as hairline fractures had expanded to 1/2-inch gaps, with one section sinking 2 inches. DIY concrete patch jobs failed repeatedly.
The Solution:
A concrete specialist identified three key issues:
- Poor Base Preparation – Original builders skipped gravel compaction
- Missing Control Joints – The 24-foot slab had no stress relief cuts
- Inferior Drainage – Water pooled against the foundation
The Repair Process:
- Mudjacking – Pumped a cement slurry beneath sunken sections (cost: $1,200)
- Stitch Repair – Epoxied steel rebar across structural cracks
- Decorative Overlay – Applied polymer-modified microtopping with expansion joints
The Results:
- 5-year warranty on repairs
- Increased home value by $8,000 (appraiser's estimate)
- Zero recurrence after 3 freeze-thaw cycles
Key Takeaway:
"The 3,500repair saved us from a 15,000 full replacement," noted the homeowner. "Catching it before winter prevented foundation damage."
When to Call a Professional
While minor cracks can be a DIY fix, significant damage may require expert assistance. Intricate Concrete specializes in high-quality concrete services, from crack repairs to full resurfacing solutions. If your concrete is showing signs of distress, addressing the issue early can prevent expensive repairs down the road.
Final Thoughts
Cracks in residential concrete are inevitable, but they don’t have to lead to major damage. By taking preventive measures and addressing issues promptly, you can extend the lifespan of your concrete surfaces. Whether you’re maintaining a pristine driveway or reinforcing your patio, the right approach to prevention and repair will keep your home looking its best for years to come.
For professional concrete repair and resurfacing services, contact us today.